By default, the e-mail address of the user logged in is automatically set as the "reply address" when sending your documents. These e-mails are sent and displayed via noreply@bexio.com for various security reasons. This guide explains how default e-mail sending works and how to set up your own customized e-mail address instead.
You can only set one single default sender for your entire bexio account.
Content:
- General information regarding the sender e-mail address
- How can I change the sender's display name or reply address?
- How can I change the sender address so that bexio displays my own address? (Hide noreply@bexio.com)
General information regarding the sender e-mail address
When you use bexio to send e-mails to your customers, the default settings are as follows:
- Sender name: [First name] [Last name] ([Your company name] via bexio.com)
- Sender address: noreply@bexio.com
- Reply address (Reply-to): The e-mail address of the logged-in user.
Why noreply@bexio.com?
Using this address ensures that the e-mails you send don't get caught in your customers' spam filters. The addition « via bexio.com » explains the difference between the display name and the actual sending address.
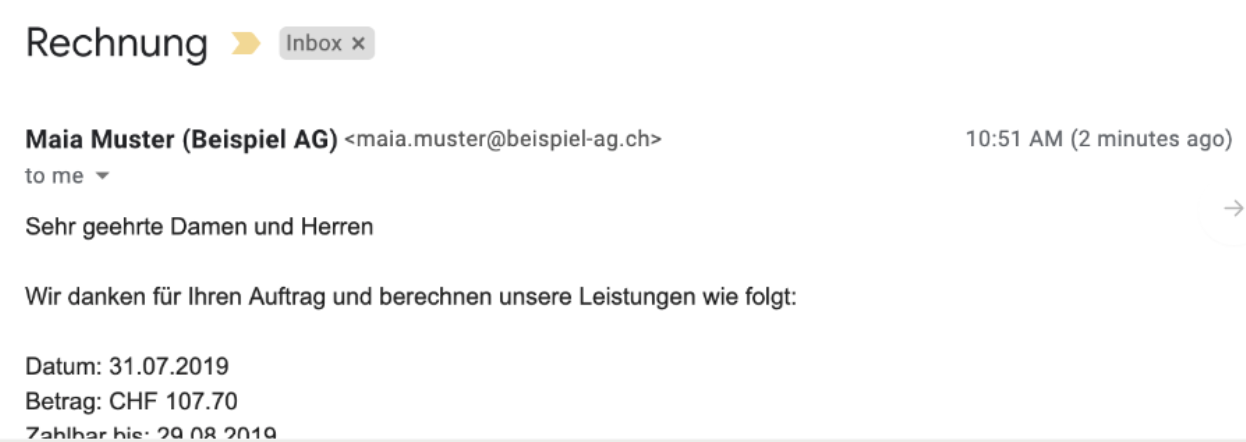
Example of how this appears to your customer:

How can I change the sender's display name or reply address?
You want to use a generic sender display name (e.g., Customer Service) or a shared reply address (e.g., invoicing@your-company.ch), while keeping noreply@bexio.com as the sending address to minimize spam risks.
Configuration steps:
- Go to Settings → All Settings → Functions & Modules → E-mail Sender.
- Click on the New Sender button.
- Enter the display name and the desired reply e-mail address (e.g., John Smith - john.smith@example-ag.ch).
- bexio will send a confirmation message to this address. Click on the link received in the message to confirm the address.
- Once the status box under the Confirmed column is checked, open the Actions menu on the right side and select Set as default sender.
For this method, domain verification (SPF) is not required.
How can I change the sender address so that bexio displays my own address?
You want your e-mails to appear as if they were sent directly from your own e-mail address (e.g., info@your-domain.ch), without showing noreply@bexio.com.
Configuration:
Step 1: Set up the SPF record (on your web host / DNS provider)
This step requires modifying the DNS zone of your domain. If you are not familiar with this procedure, please contact your e-mail provider or IT department for assistance.
Add a TXT record in the DNS configuration of your domain with the following value:
v=spf1 include:_spf.bexio.com ~all
-
If an SPF record already exists: Simply insert include:_spf.bexio.com before the ~all or -all mechanism (separated by spaces).
Example: v=spf1 include:spf.protection.outlook.com include:_spf.bexio.com ~all
-
DNS Lookups Limit: Ensure you do not exceed the limit of 10 DNS Lookups. If you are approaching this limit, consider using a dedicated subdomain (e.g., @sales.your-domain.ch).
Step 2: Verify the domain in bexio
- In bexio, navigate to Settings → All Settings → Functions & Modules → E-mail Sender.
- Find the e-mail address in the list, open the Actions menu on the right, and click Authenticate E-mail Sender.
- bexio will check for the presence and accuracy of the SPF record on your domain.
DNS Propagation Delay: Changes to your DNS settings can take up to 24 hours to take effect. If the verification fails right away, please wait a while and try again.
Step 3: Set as default address
Once verification is successful, a checkmark will appear under the Verified column.
- Open the Actions menu on the right of the verified address.
- Click Set as Default Sender.
Example of final output for your customer: