Content
Creating a new bill
There are 3 ways to create a bill.
1. Create a bill via the bexioGo app
2. Create a bill via "Inbox"
3. Create a bill via “Purchase"
Option 1
Create a bill via the bexioGo app. Please view the relevant information here .
Option 2
Create a bill via inbox
- Go to “Apps” → “Inbox”.
- Upload the document and click the “three-dot menu”.
- Select “New bill”
- Then select the contact.
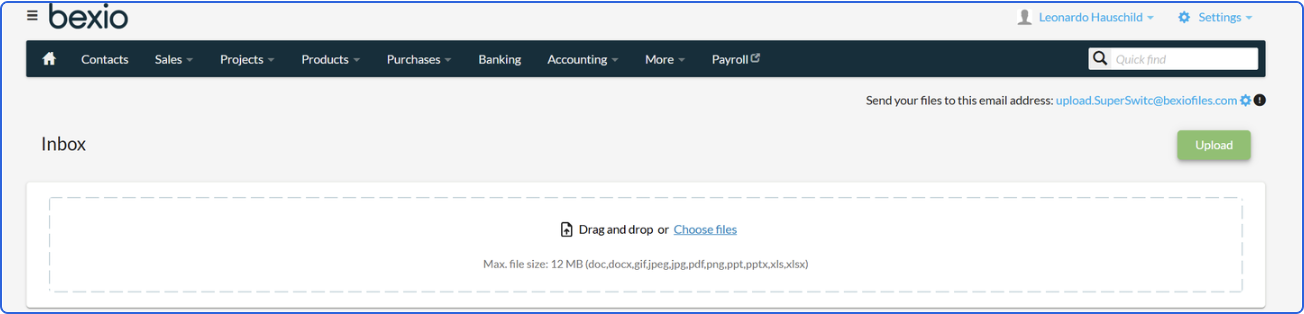
Under “Apps” → “Inbox” click “Upload” in order to directly upload a document.
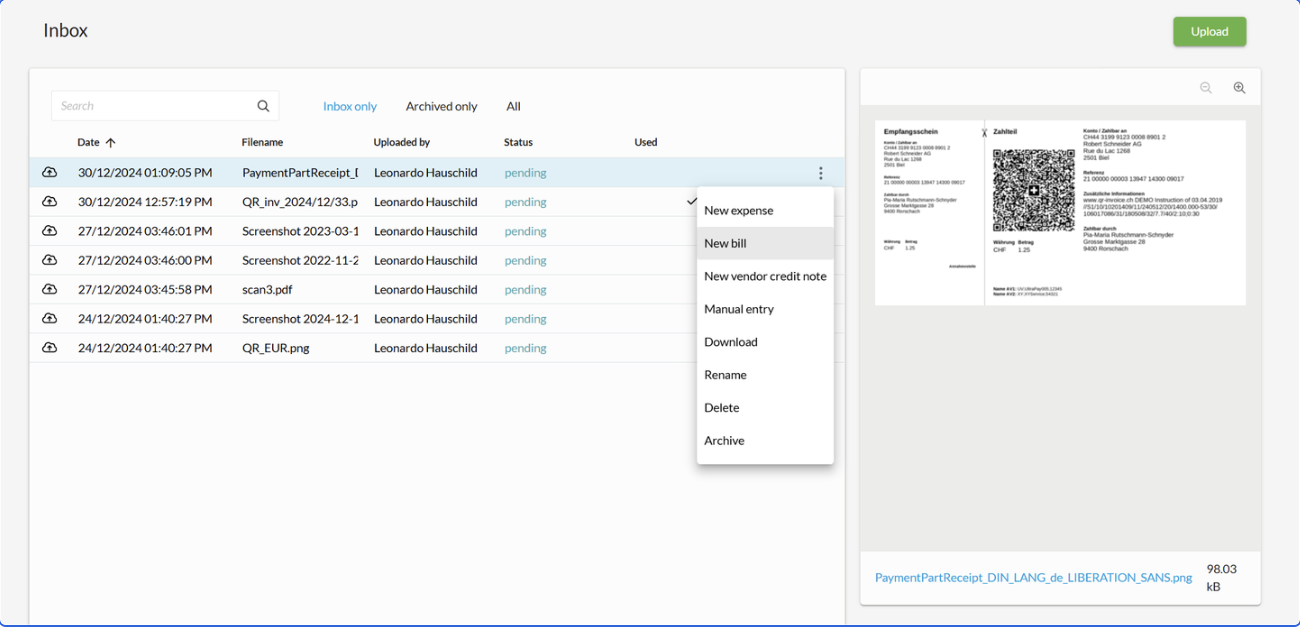
Click the “three-dot menu” and then “New bill”. A bill is created with the selected document.
Then select the contact for the bill.
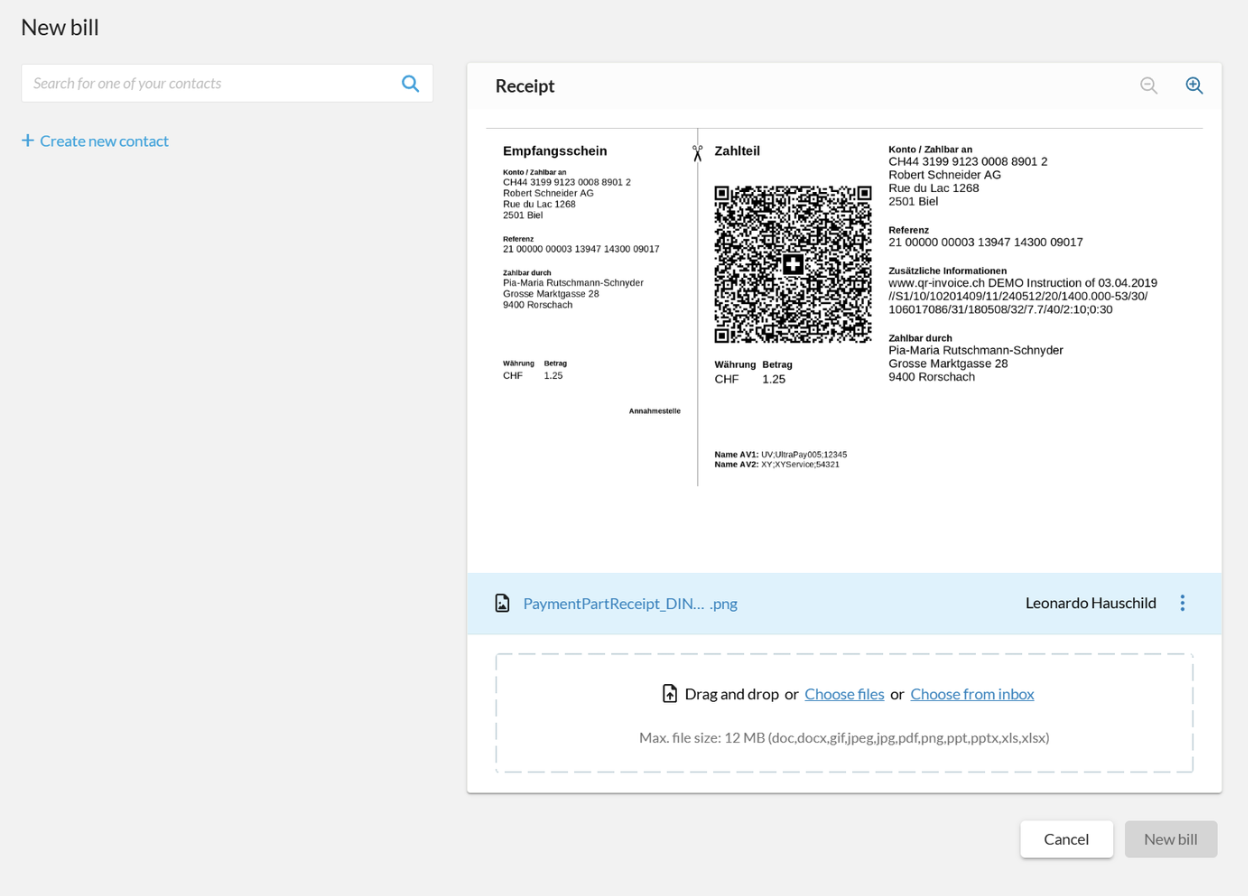
If the bill attachment contains a QR invoice then the details of the invoice will be extracted.
Option 3
Create a bill via “Purchase”
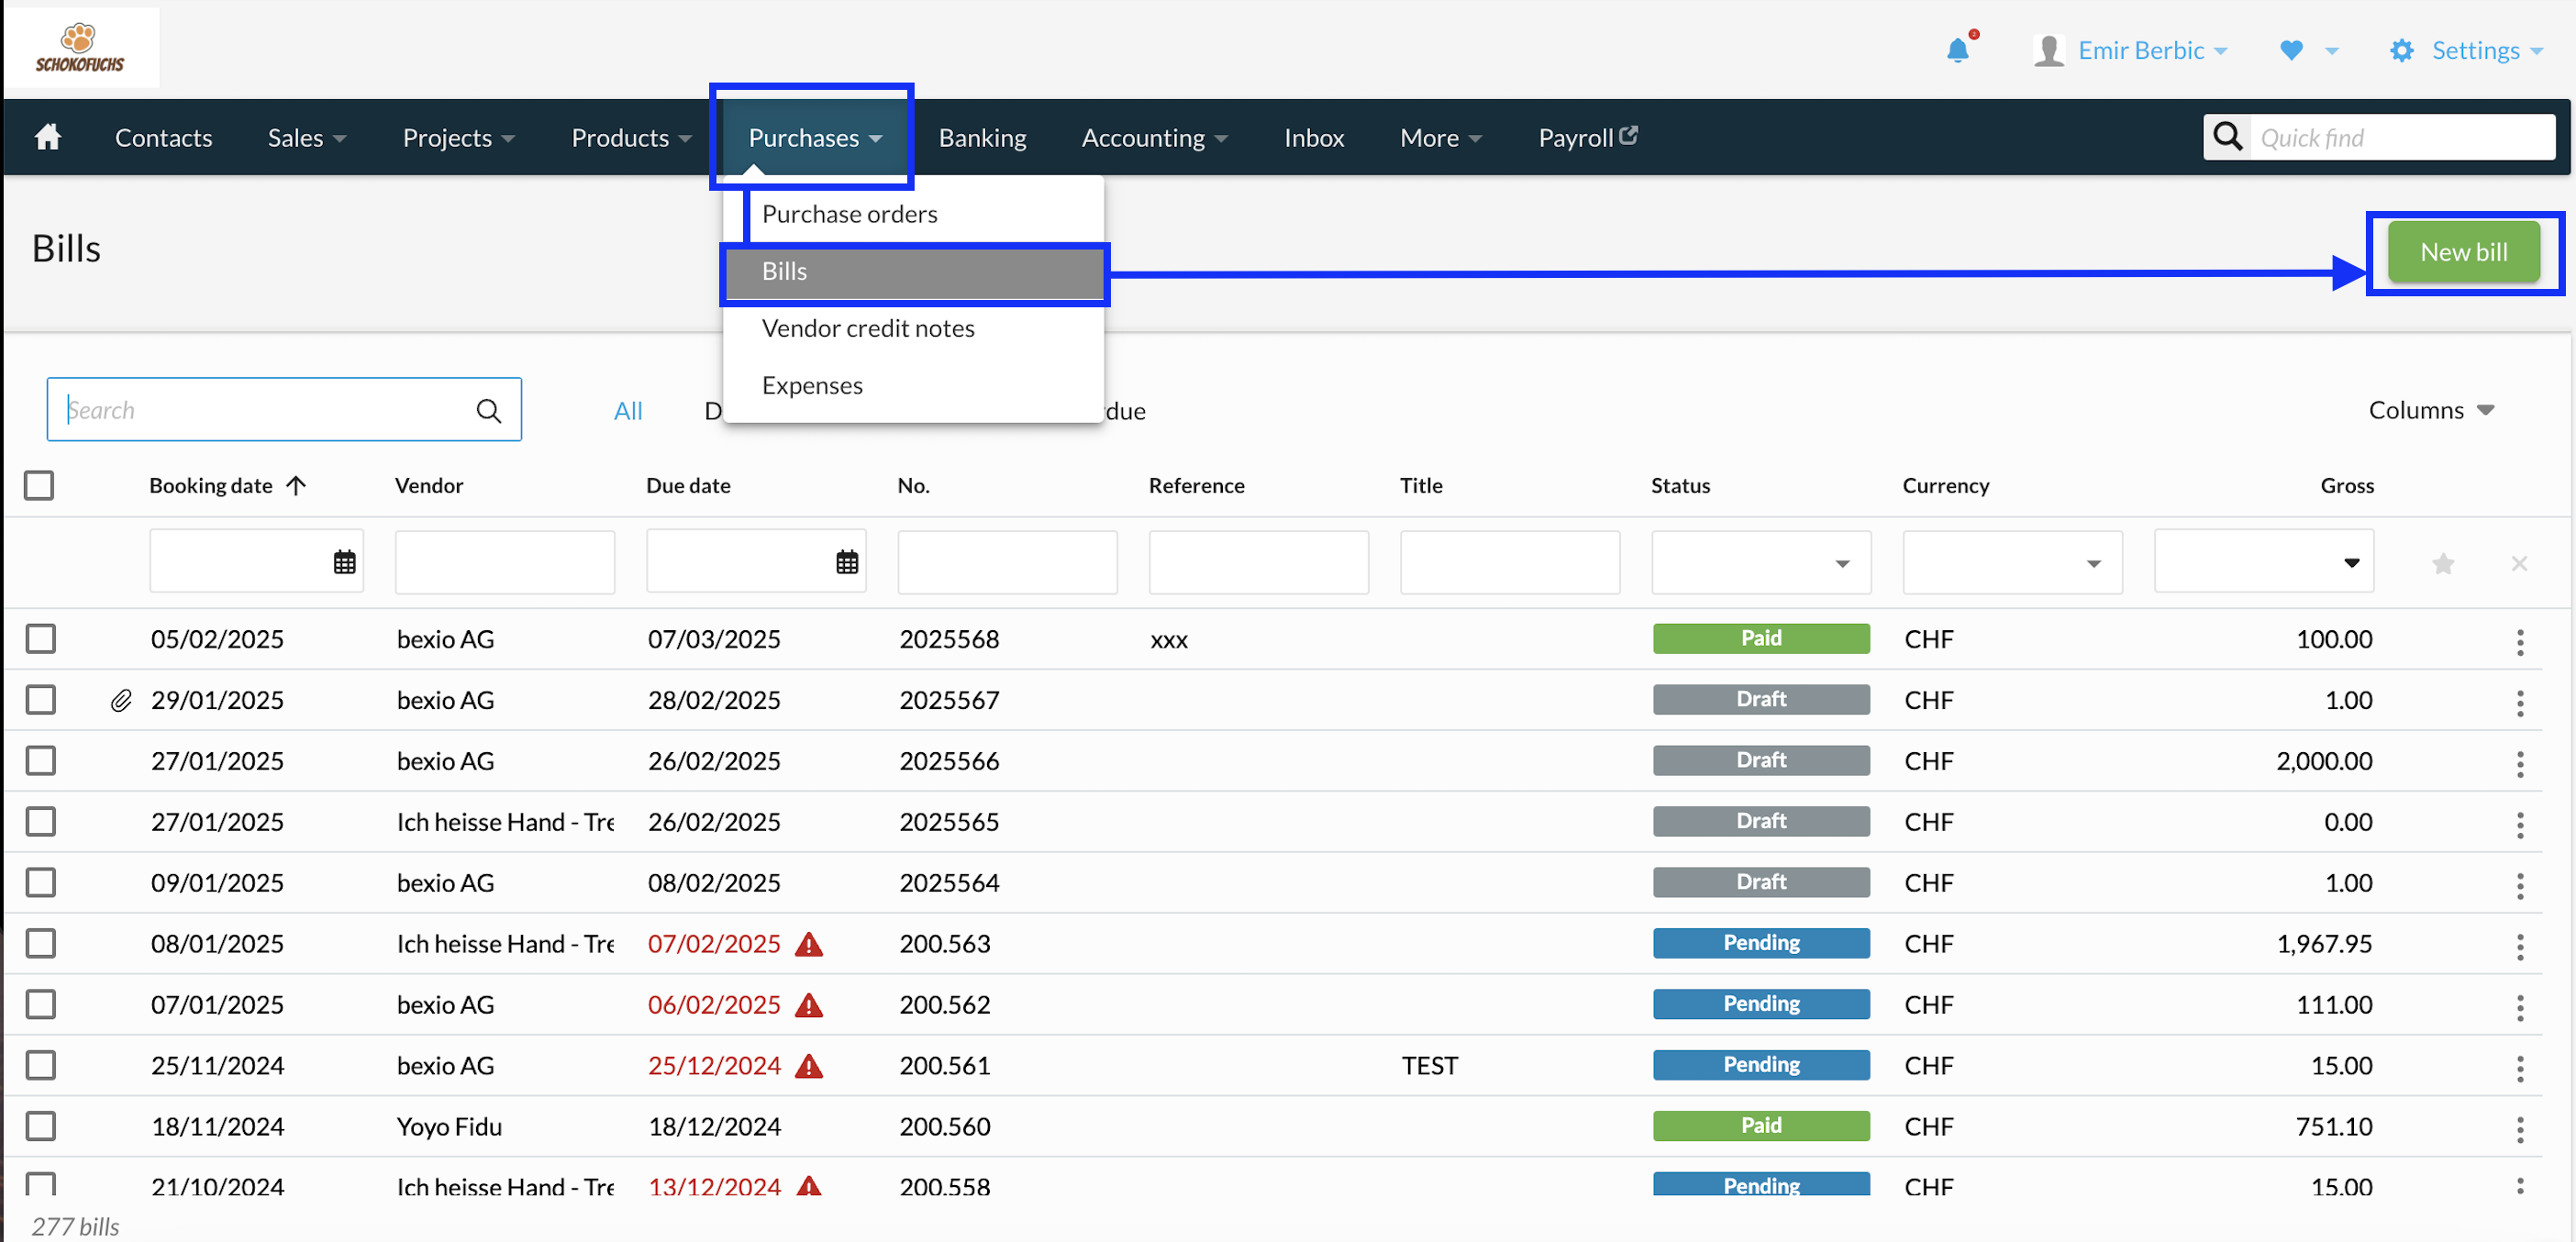
- Open “Purchase” → “Bills”.
- Select “New bill”
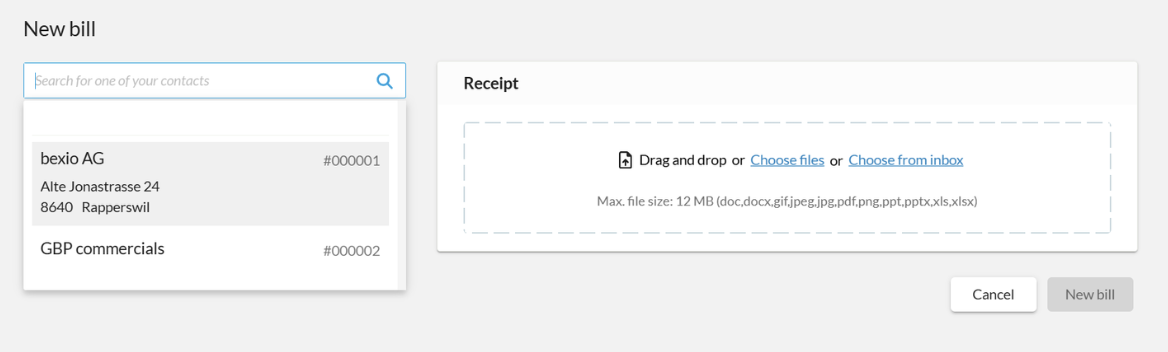
- Then select the contact.
Go to “Purchase” → “Bill” and click “New bill”.
Then select the contact for the bill.
At this stage you can upload an attachment or select an attachment from the Inbox. If the bill attachment contains a QR invoice then the details of the invoice will be extracted.
Please note: if there already exists a bill booked for the selected contact then by default the new invoice will be using the same accounting account and tax rate as the most recent invoice from that supplier.
You can then upload your document on the right-hand side of the bill.
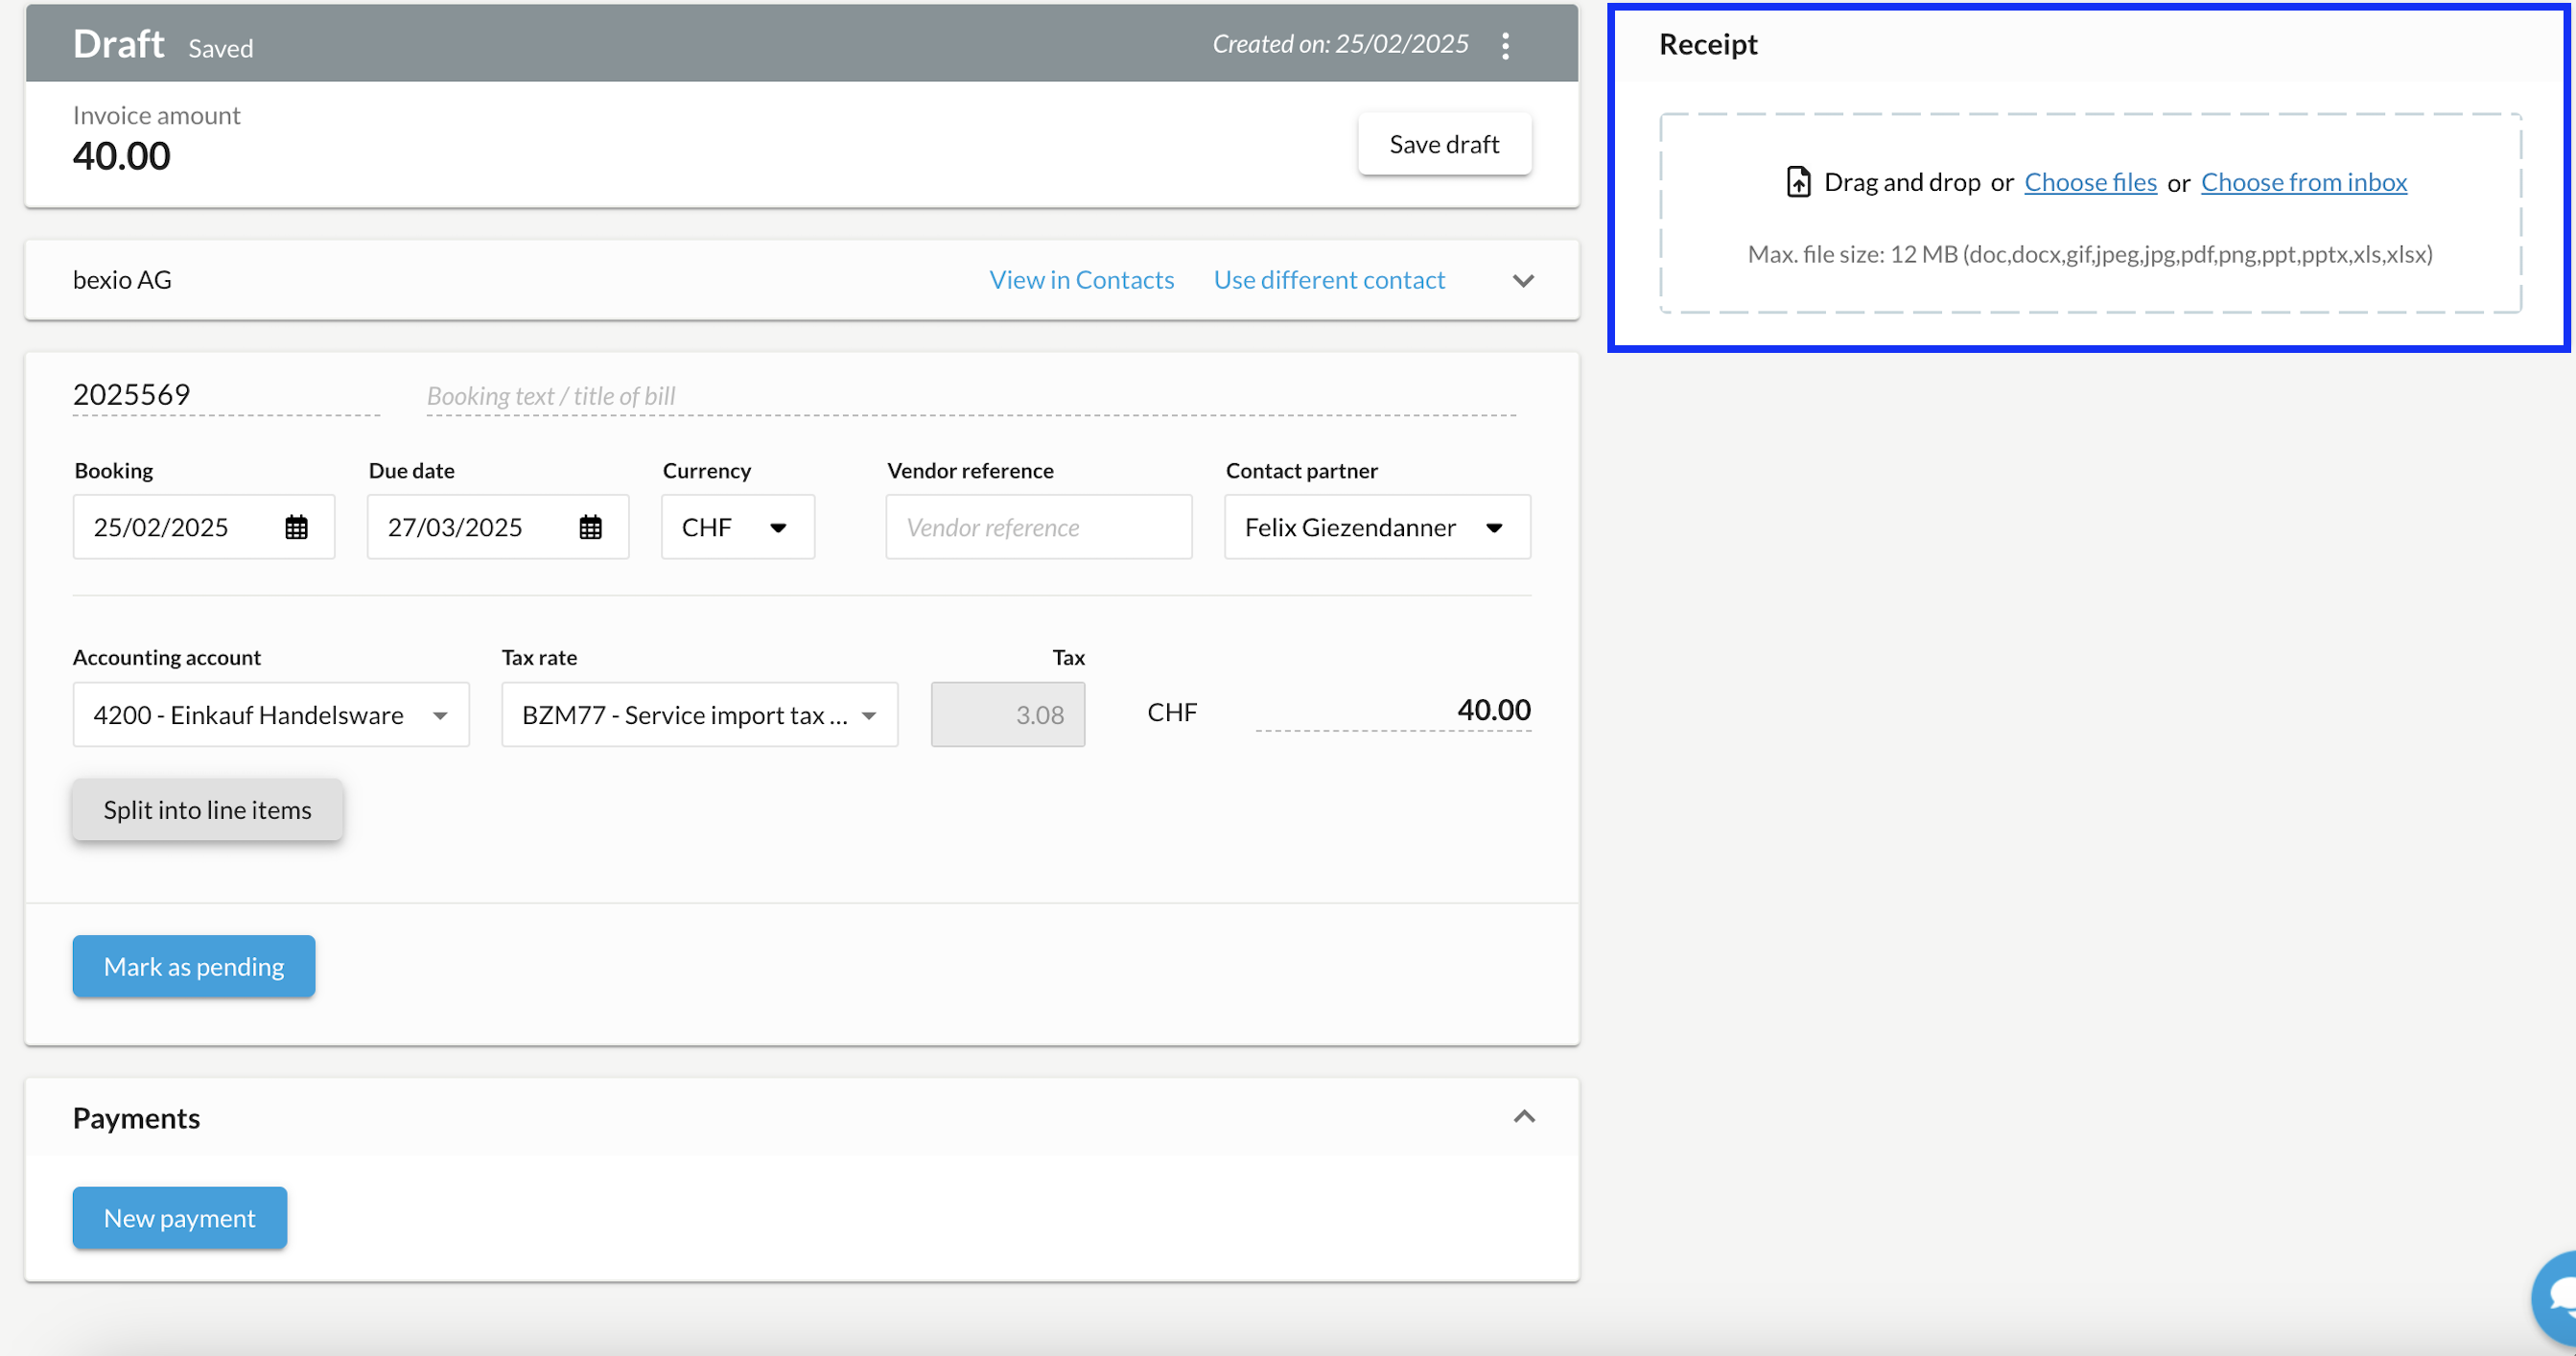
Attach document to the bill
According to the principle that no posting should be made without supporting documentation, you can attach the original account invoice as a document. If the document has not been attached/linked via options 1 or 2, you can do this on the right-hand side of the bill.
-
- By clicking "Upload file...", you can drag documents/files directly from your computer either using the "Drag & Drop" function or by uploading them using the "Select files" button.
- Or if you click “…or select files from inbox”, you can attach documents that you have already uploaded to your inbox, uploaded via the bexioGo app, or sent via email. “More information on how to upload files to your inbox“.
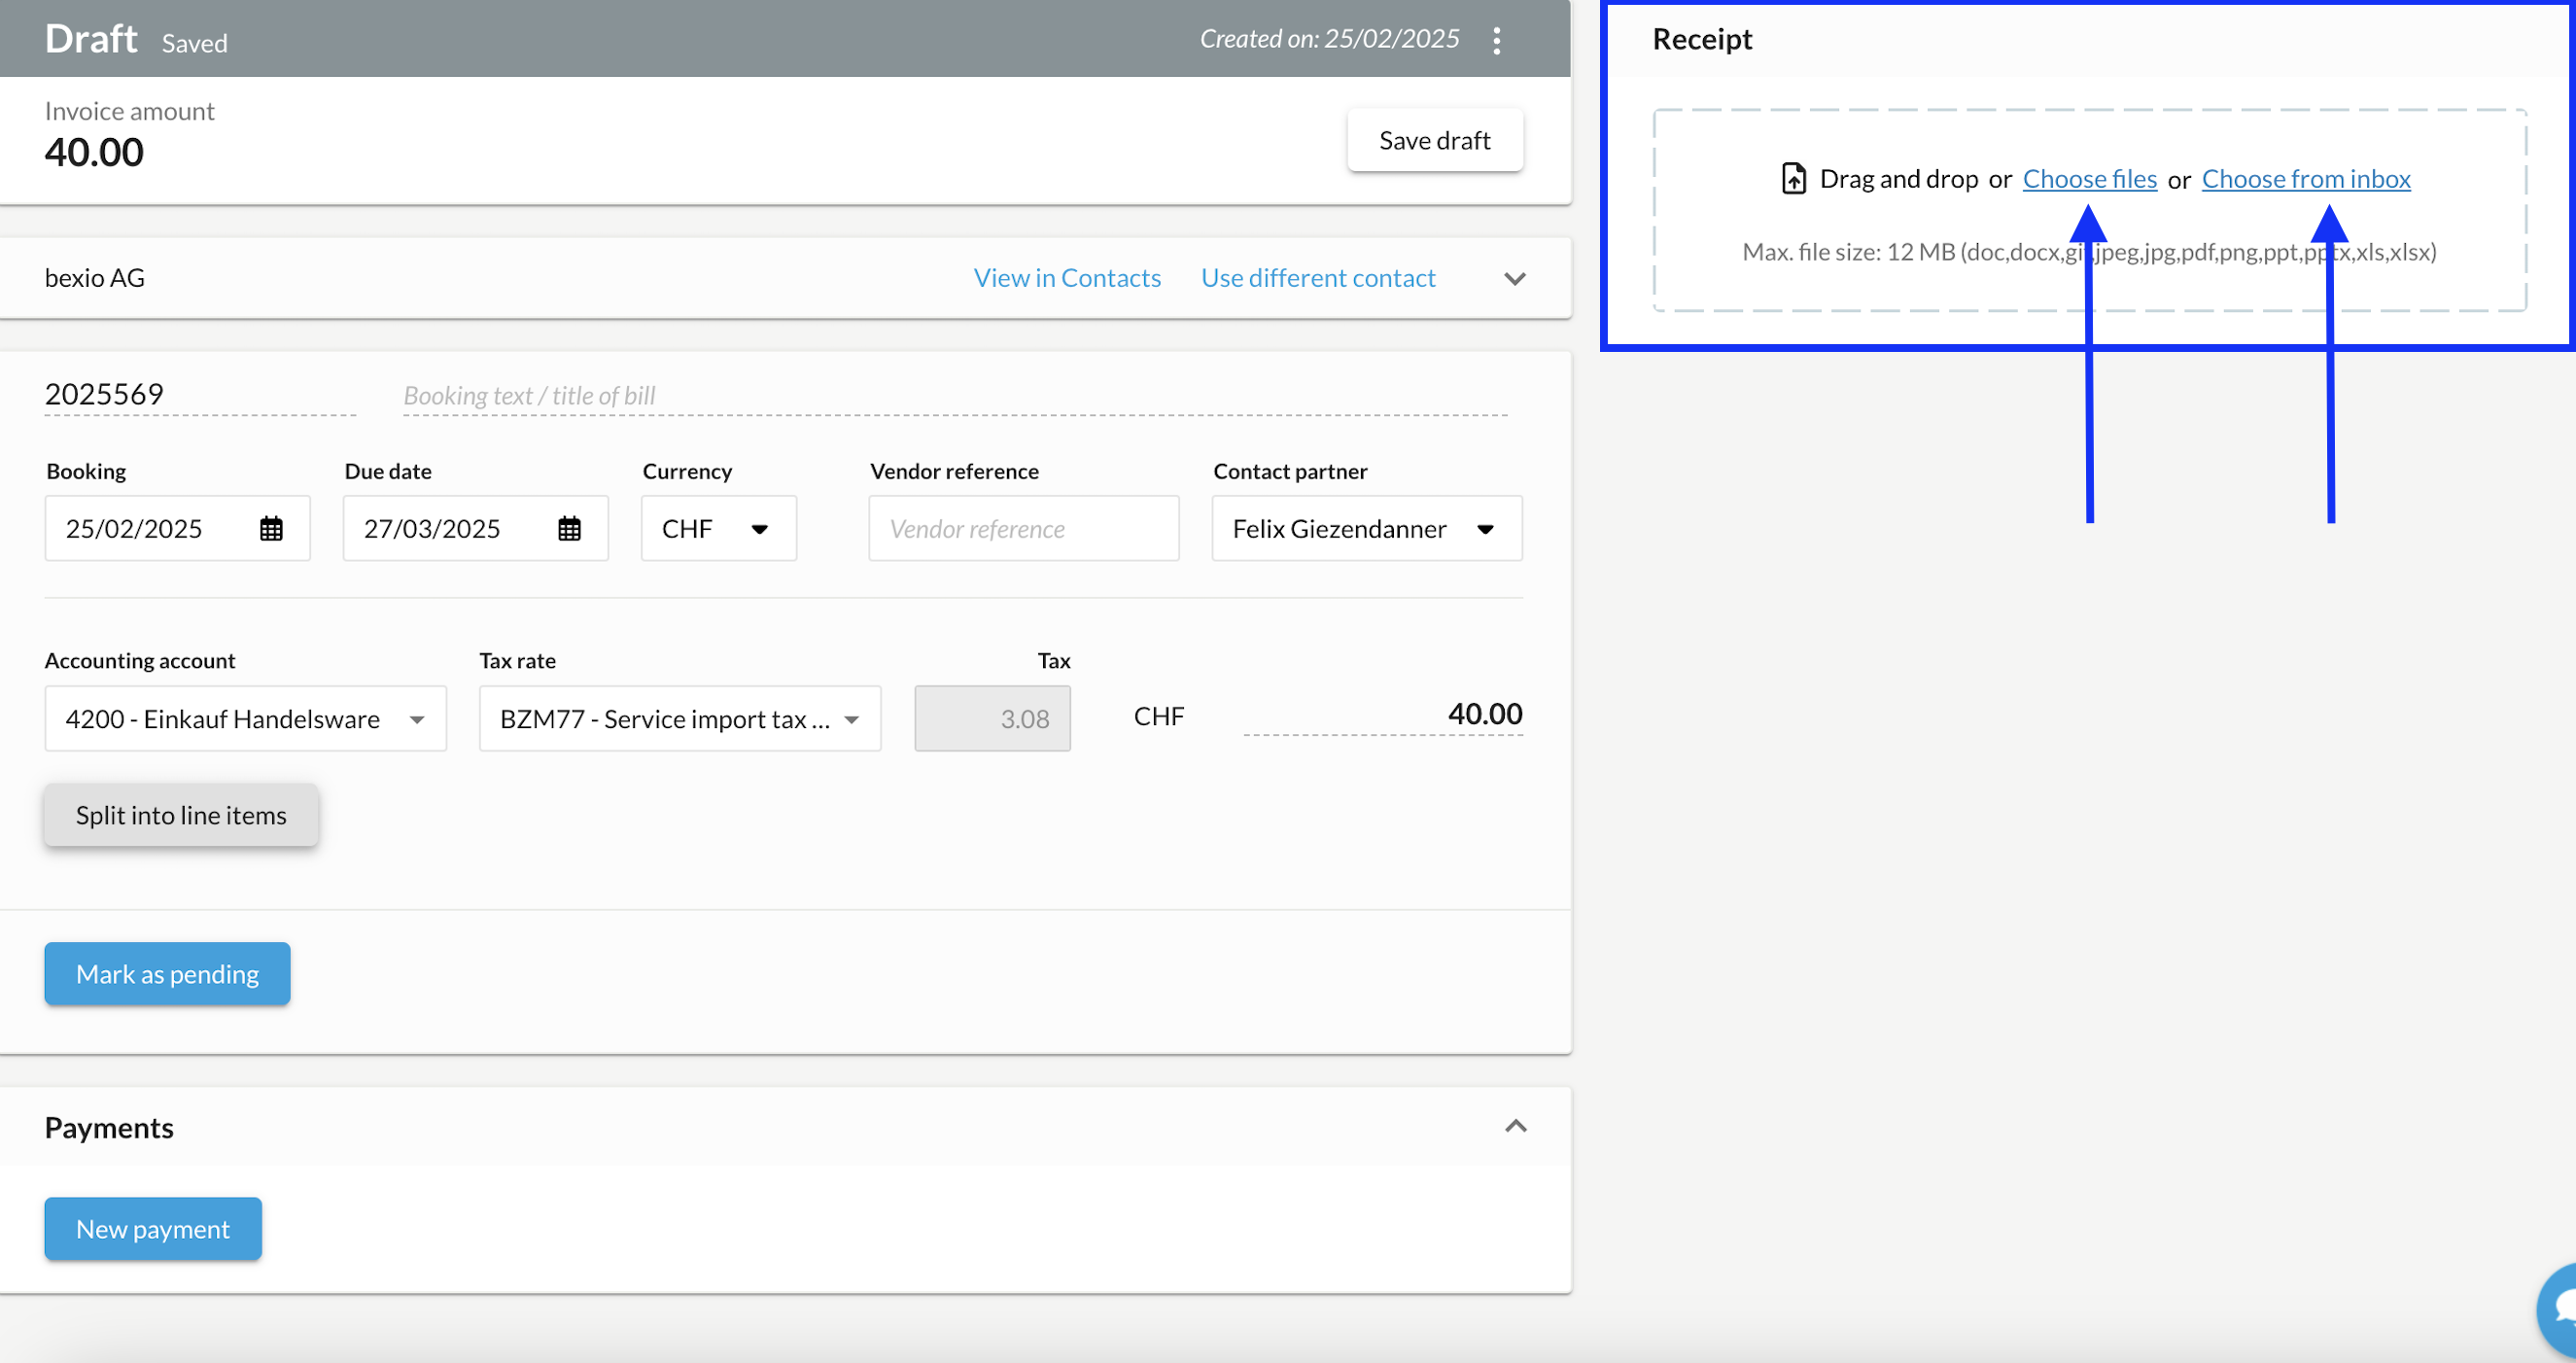
If documents have already been linked, you can still upload additional documents and link them to the bill.
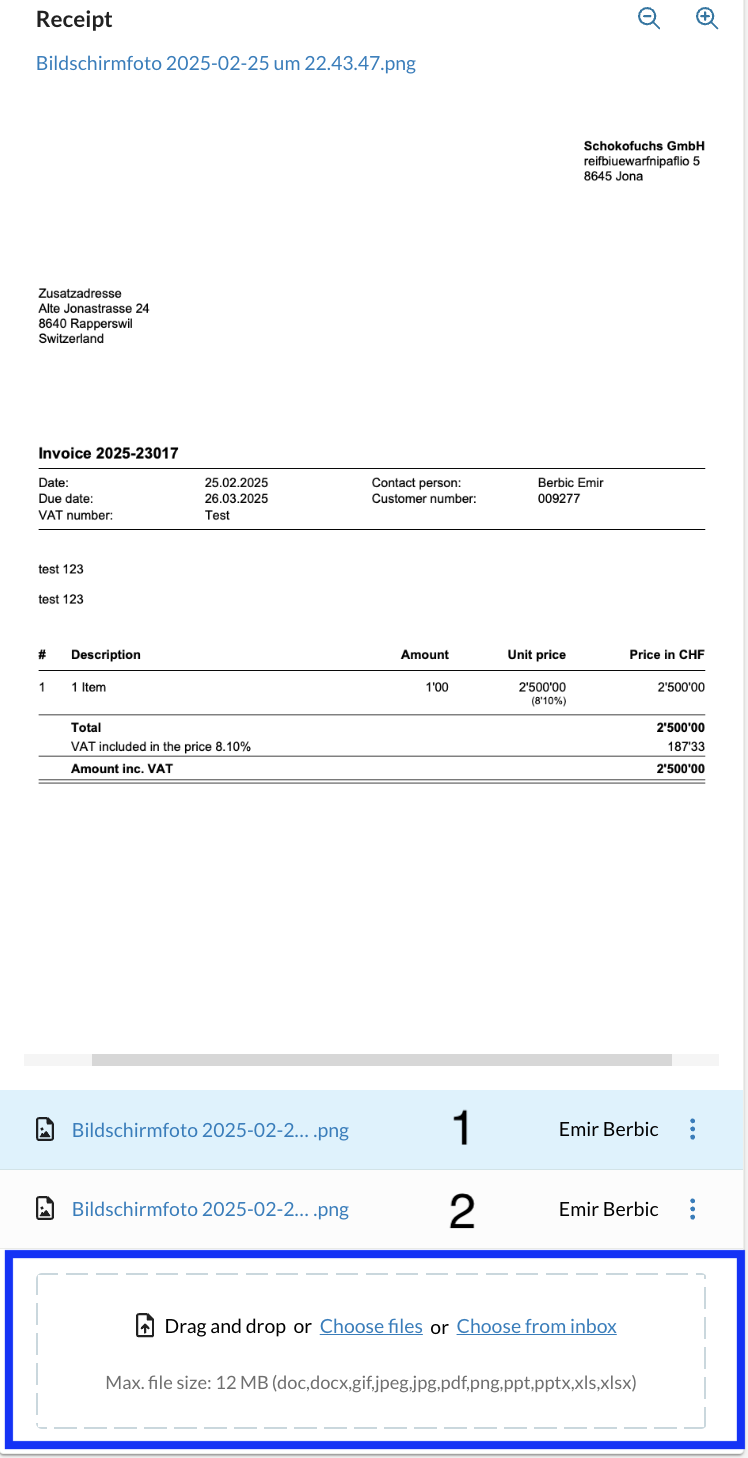
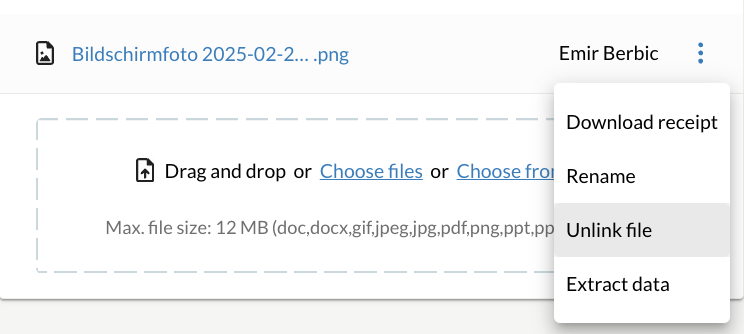
If the link to a document is broken, you can correct this using "three-dot menu".
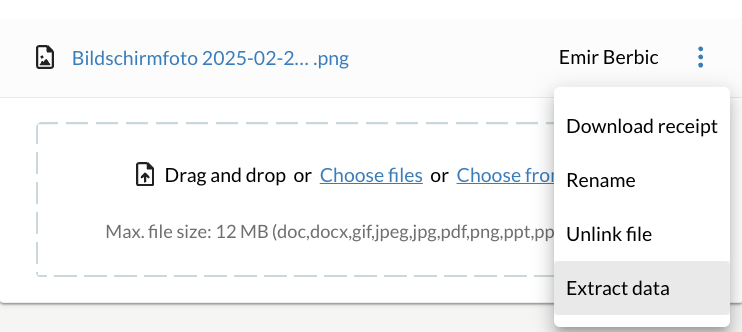
If you attach the receipt to the bill afterwards, you can still extract the QR bill information by selecting the "Extract data" option from the menu and your bill will be overwritten with the extracted information.
Input fields of the bill
You can adjust the heading and numbering of the bill yourself directly in the bill. You can enter the invoice date, currency, supplier reference, contact person, and due date directly in the bill. You can select the posting account under "Posting account" and then add the corresponding VAT rate. There is no tax-exempt option in the bill. You must enter a 0% VAT rate if you want the equivalent of a tax-free amount.
By default, the expense account is always taken which is stored under "Settings" - "All settings" - "Functions & modules" - "bill". The VAT rate is always taken from the basic settings VAT, unless you have assigned a specific VAT rate to the expense account on the chart of accounts.
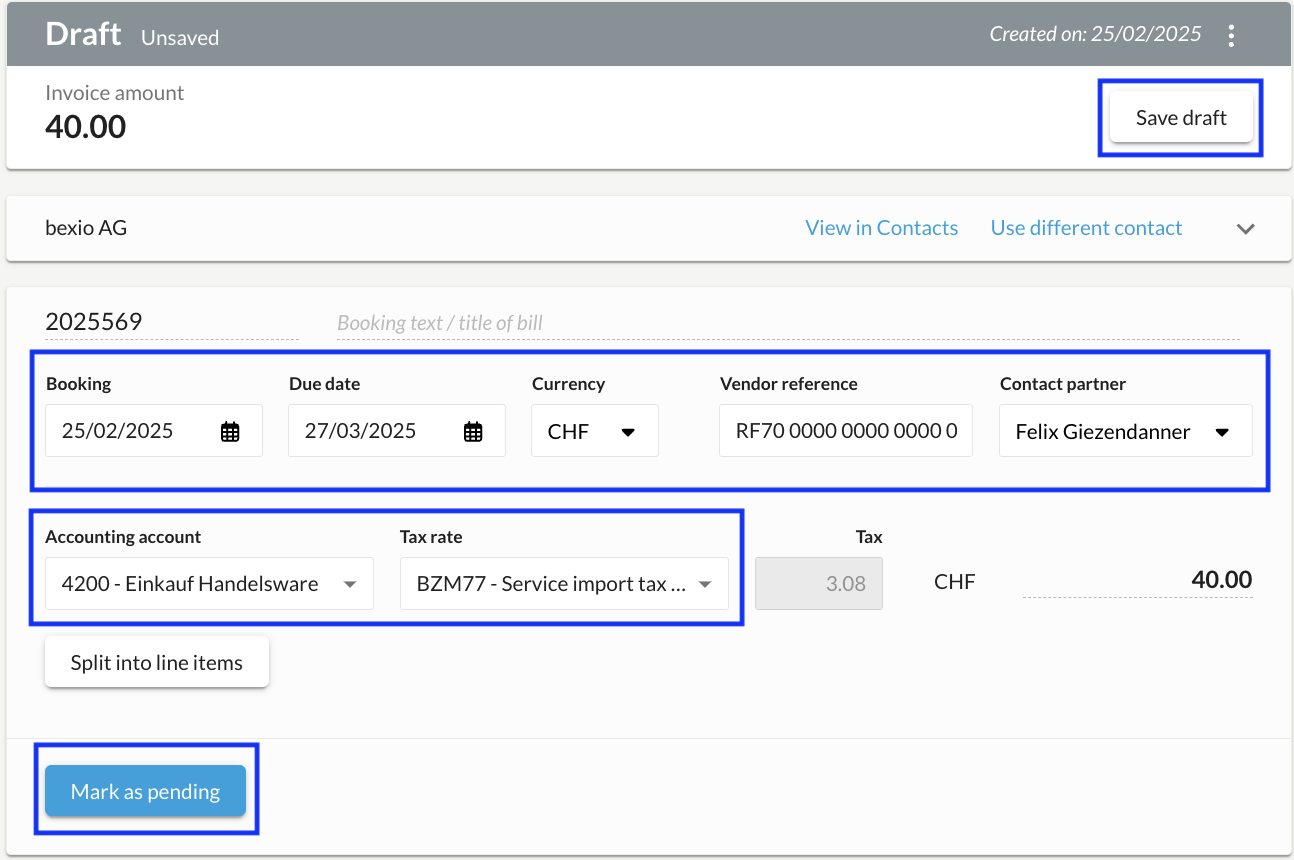
By clicking “Post”, you can post the bill, or, alternatively, you can save it as a draft by clicking in the top right corner. You have now created a bill.
The following accounting accounts can be selected in the "Posting account" field in the bills:
-
All accounting accounts that are not system accounts. (system accounts)
-
Exception: account 2201 is available for selection even though it is a system account.
-
All expense & revenue accounts (including system accounts).
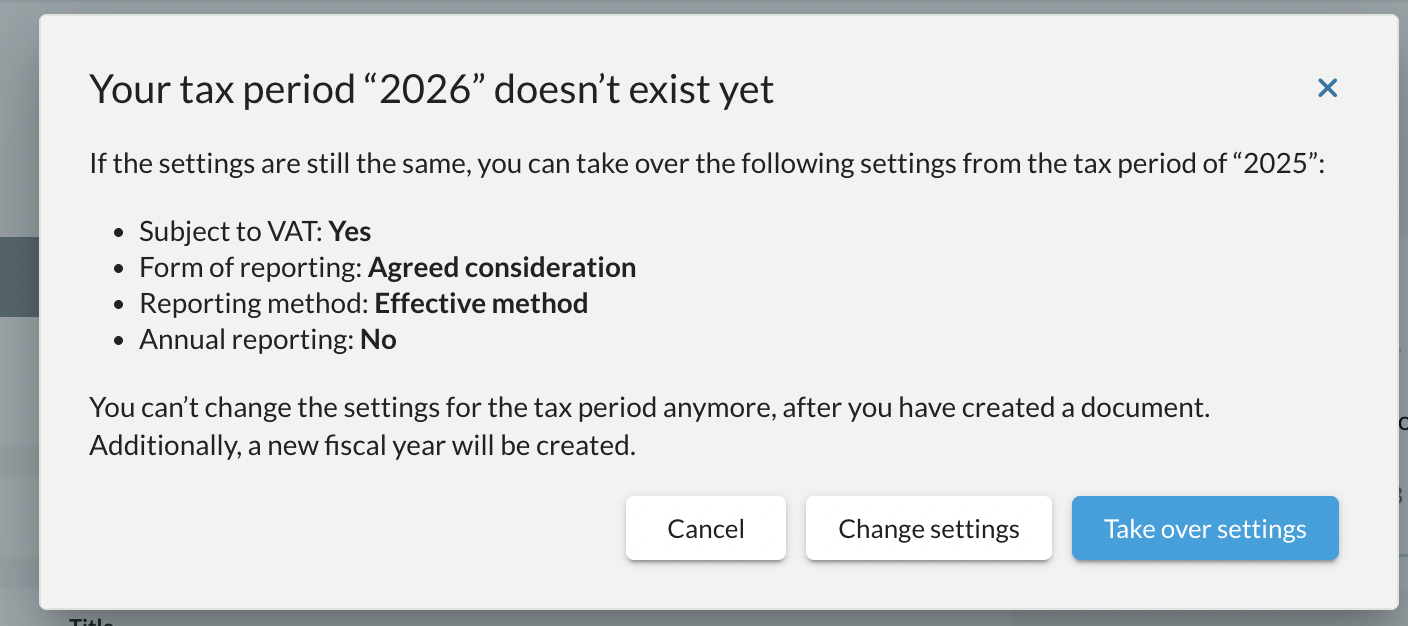
Before you can create a new bill, the new fiscal year must be created under "Settings" - "All settings" - "Accounting" - "Change fiscal year".
You also have the option to take over the settings from the previous tax period directly to the bill.
Additional items and discounts
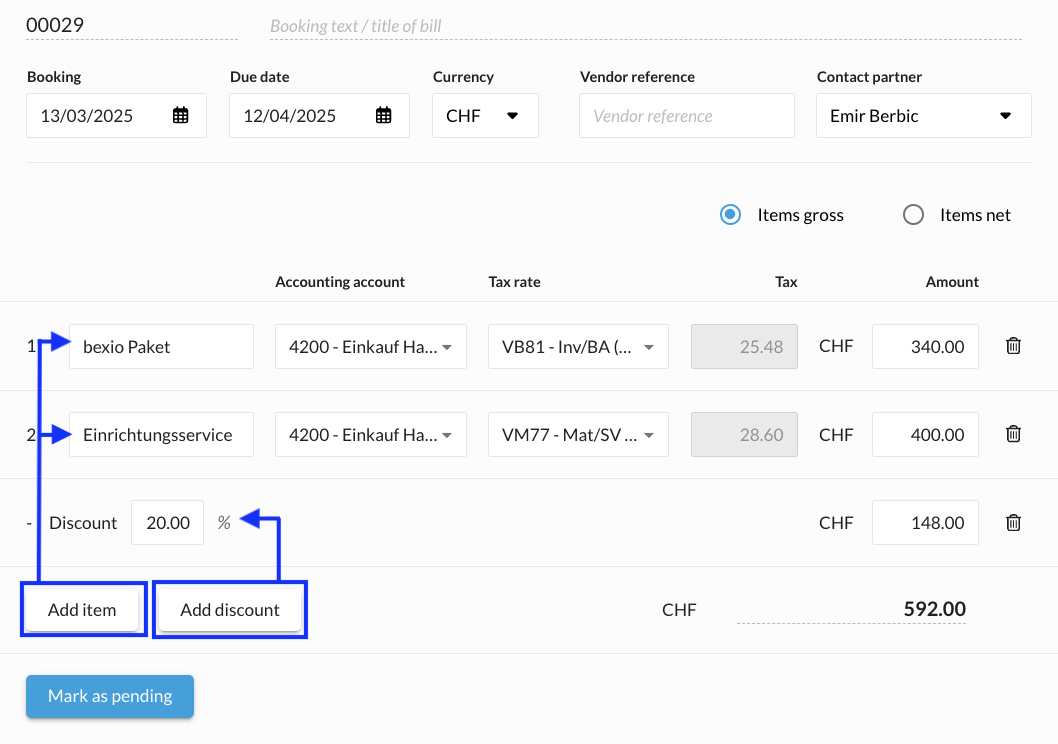
If the bill consists of several items, you can use “Split into separate items”.
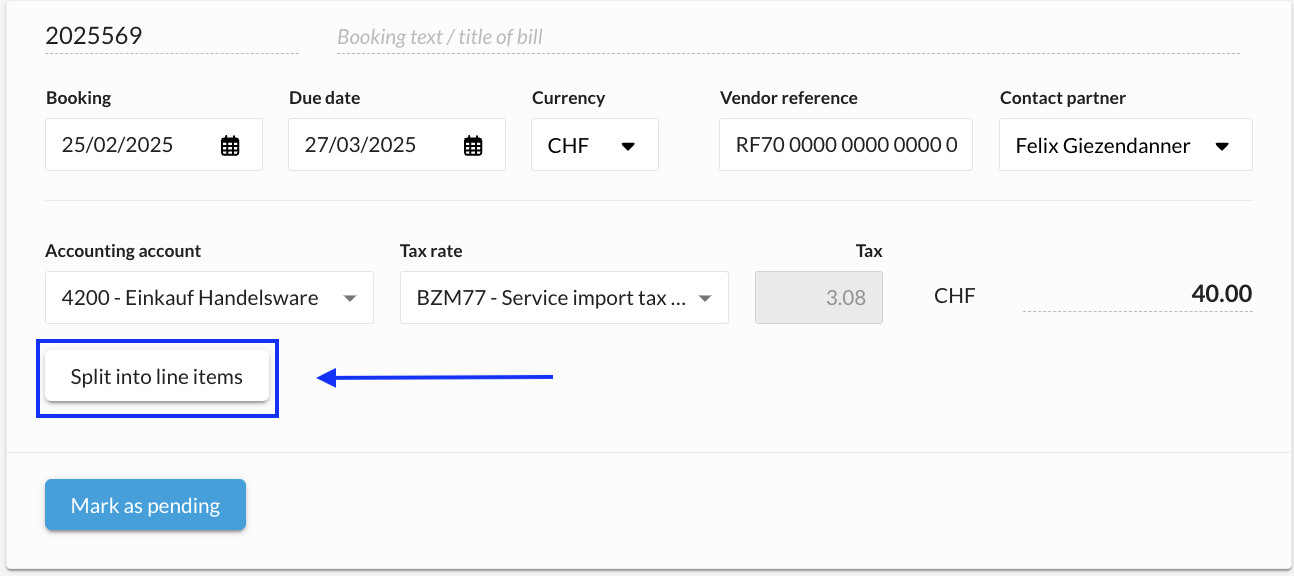
You can then add several items or a discount. If you are granted a discount by the supplier, click on ‘Split item’ and add the discount.
Either use the field with % or enter the amount on the right-hand side.
If you have entered the discount in %, the discount amount will be calculated as an amount.