You can automate your sales workflow by assigning customer-specific discounts to your contacts. Once a discount is assigned, it is automatically applied to newly created sales documents for that customer, helping ensure consistent pricing and reducing manual work.
This feature is
exclusively available in the following bexio packages: Advanced, Optima, and Ultimate. Interested in this feature?
Switch to a new package directly in your bexio account now.Summary:
Check your user permissions
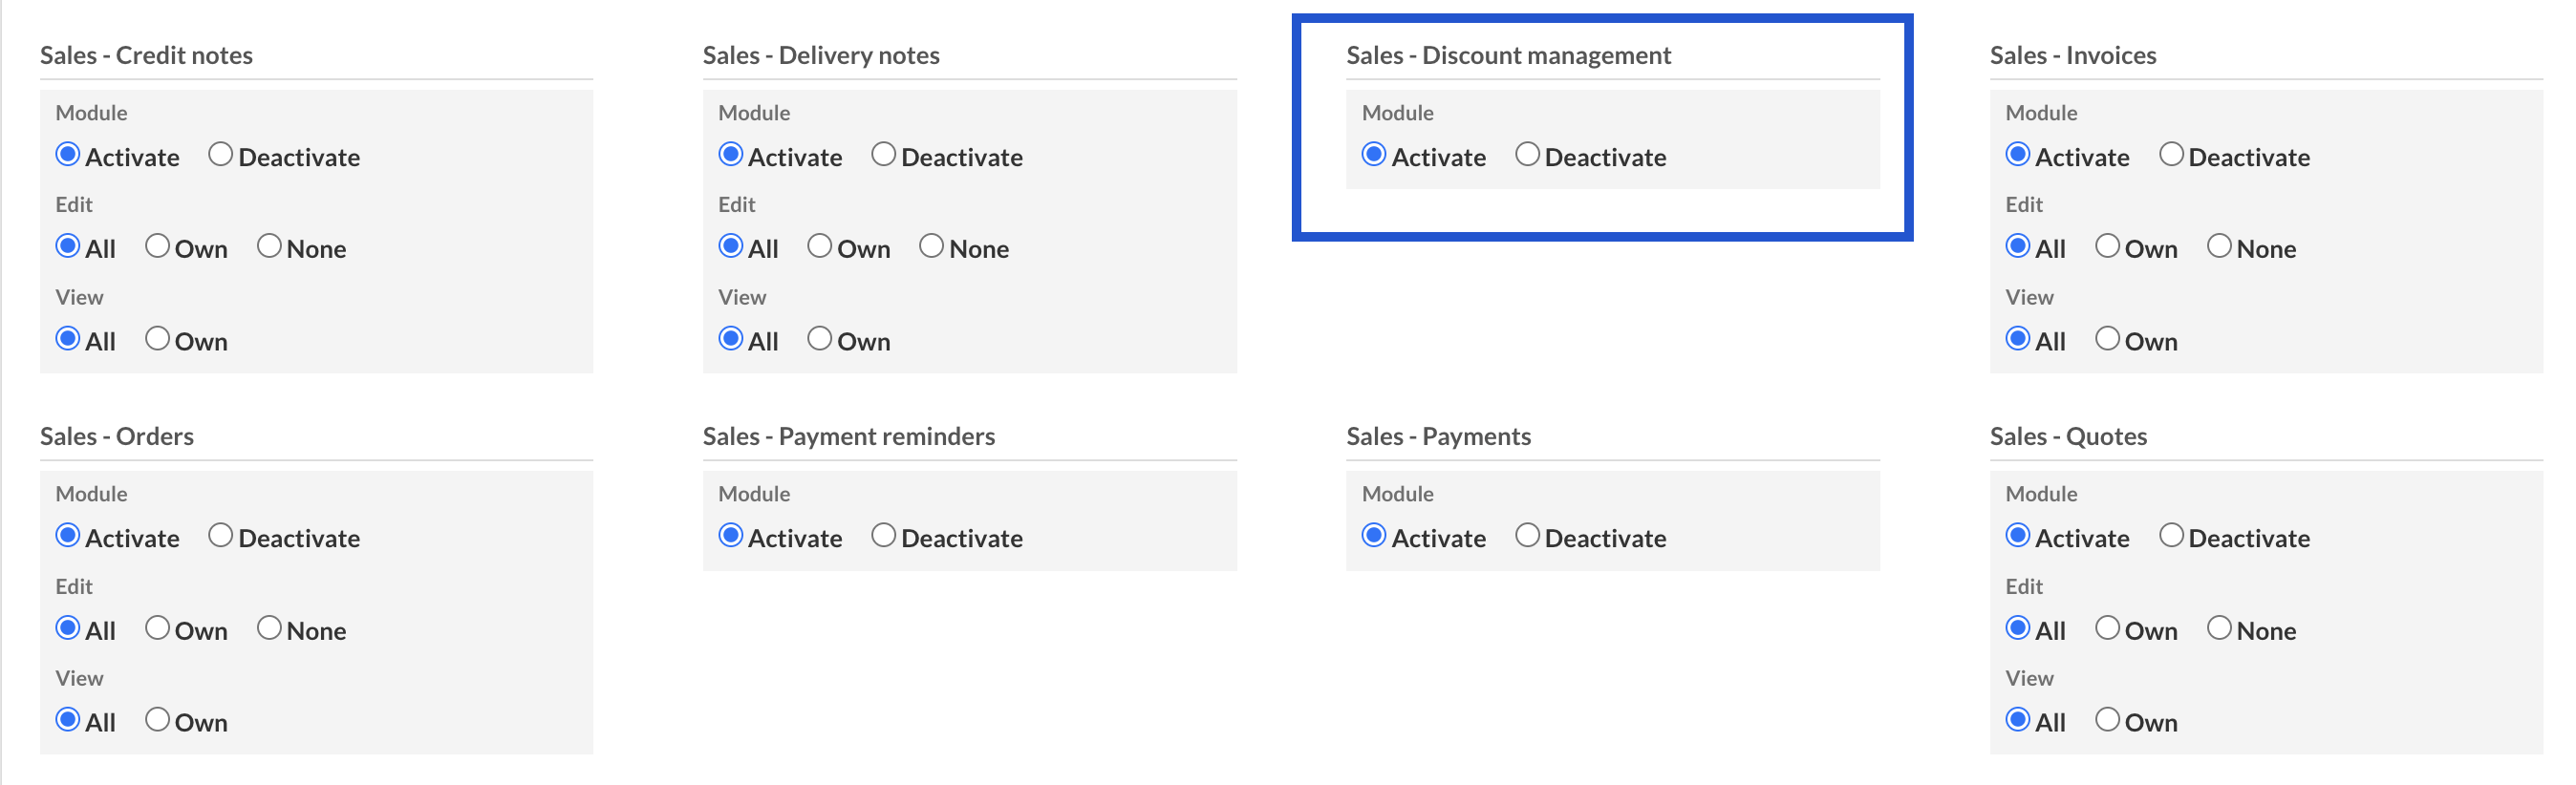
To configure and manage discount groups, you must first enable the corresponding permission on your profile:
- Go to Settings > Users > Manage Users.
- Click Manage Users again.
- Verify that Sales - Discount Management is enabled for your user profile.
Create and set up a discount
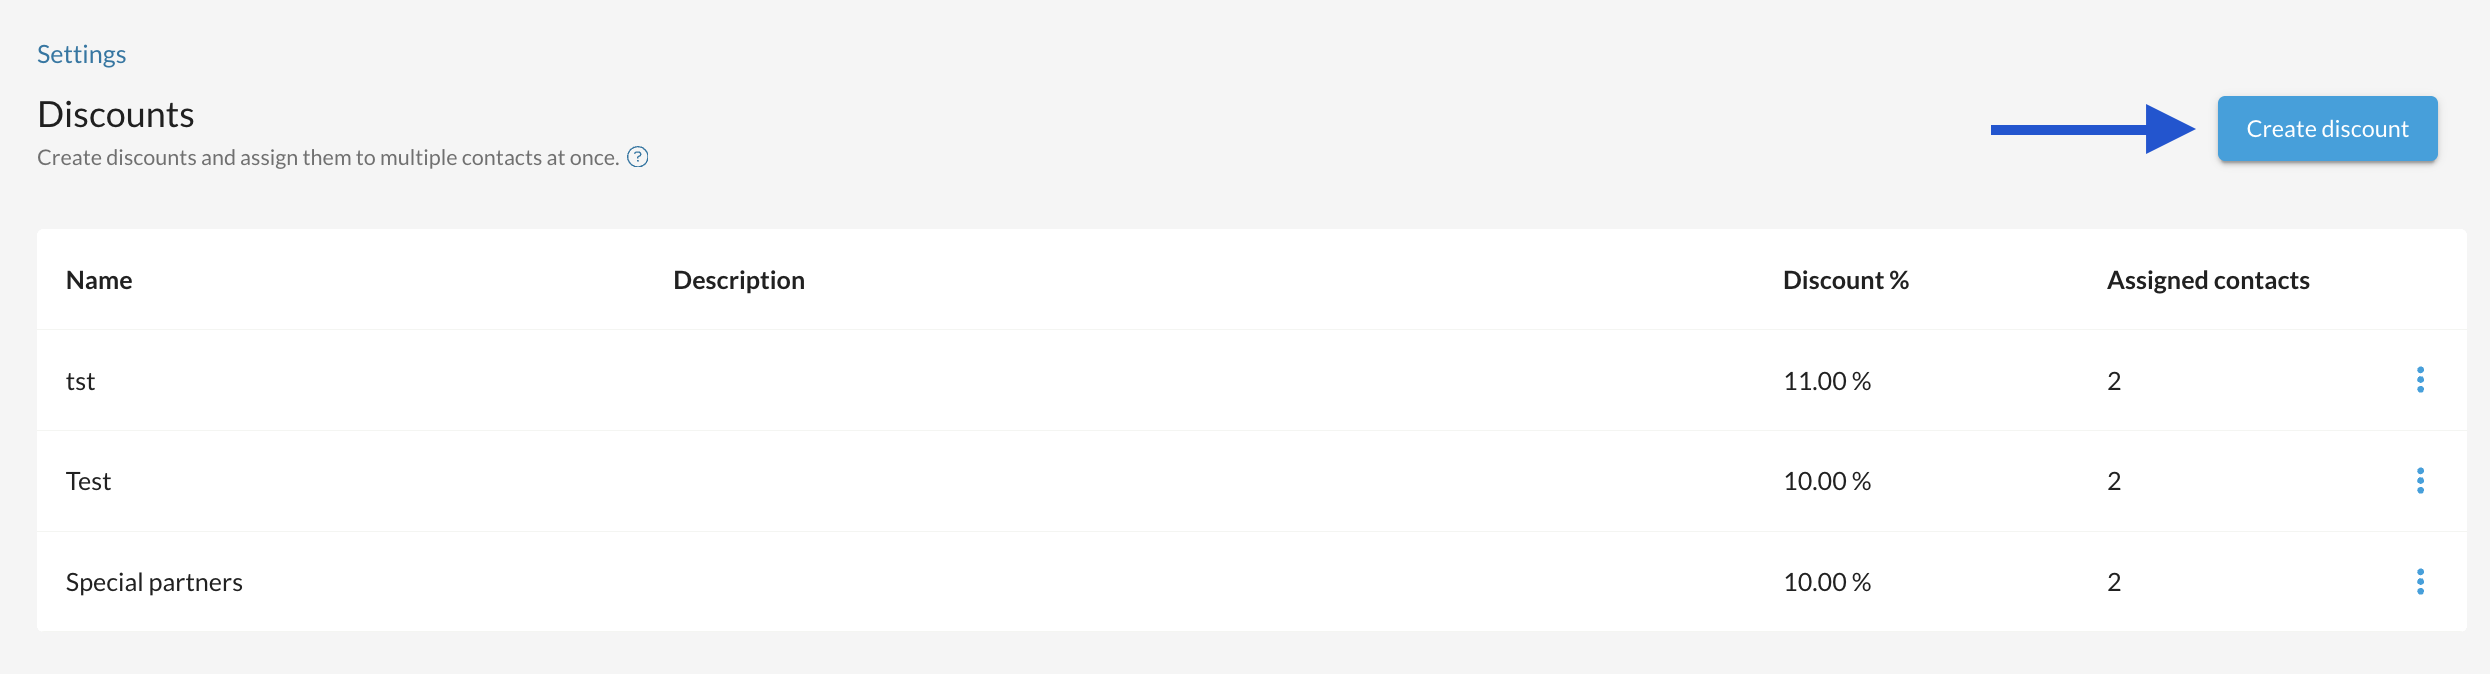
- Go to Settings > All Settings > Master data > Discounts.
- Click create a new discount
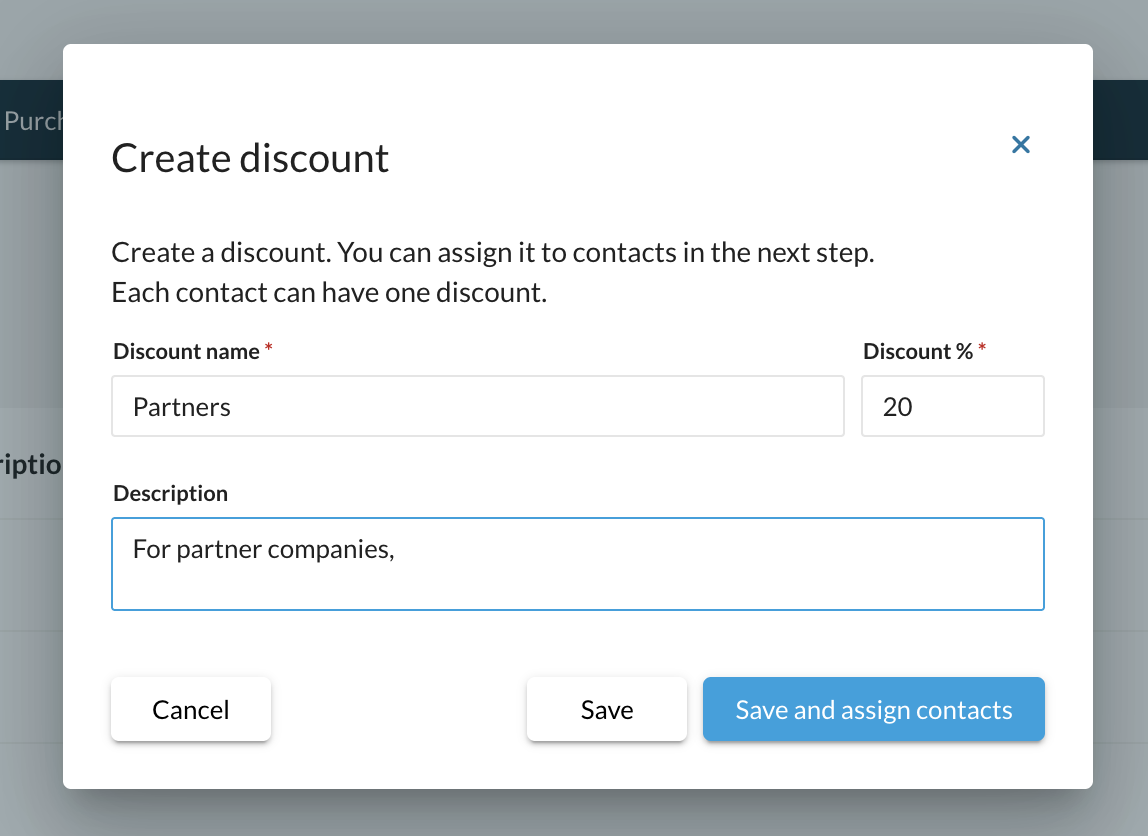
- Name: Enter a name for the discount (for example, suppliers 20%)
- Discount %: Enter the discount percentage. Discounts can only be created as a percentage.
- Description: Add additional information the discount
- Click Save or Save and Assign to Contacts.
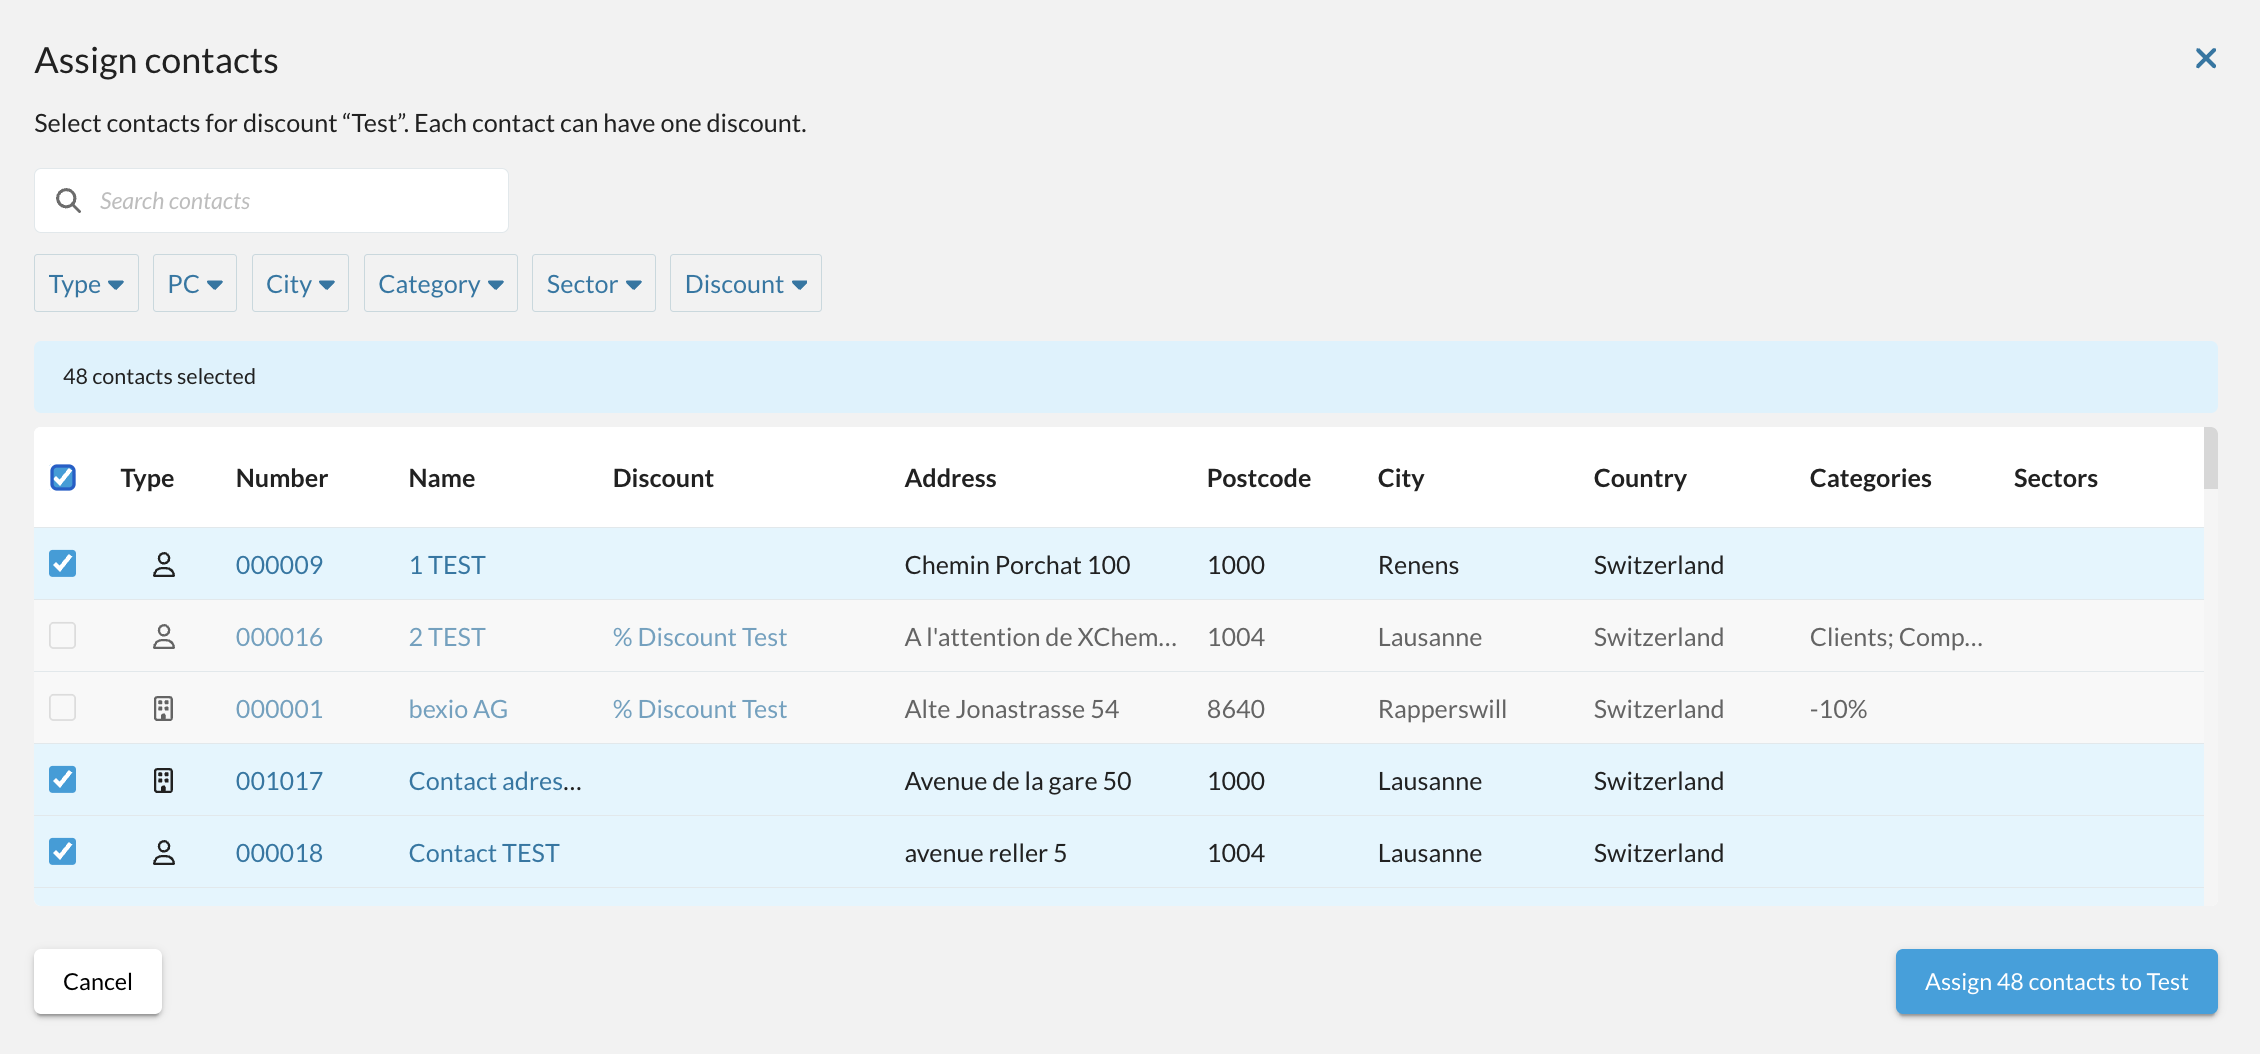
If you click on save and assign contacts
You can filter your contacts and select the contacts of your choice in bulk who needs to have this discount.
Once contacts are assigned, you are redirected to the discount detail page. On this page, you can manage both the discount and its assigned contacts.
The Assigned Contacts tab allows you to:
- View assigned contacts.
- Add additional contacts.
- Remove contacts from the discount.
The Discount tab allows you to:
- Edit the discount name.
- Update the discount percentage.
- Modify the description.
Any changes made here will only apply to future sales documents.
Once you have set up the discounts in the settings, you can assign them to an existing contact under "Contacts". On the right-hand side, simply select the desired discount from the drop-down menu to add it.
How discounts work on sales documents
When a contact has an assigned discount, it is automatically applied to newly created:
The golden rules of automatic discounts:
- No retroactive updates: Existing documents are not updated when a discount changes. Only newly created documents will use the updated discount rate.
- One discount per contact: Each contact can only have one automatic discount.
- Manual adjustments allowed: You can still add manual discounts directly to a document if needed.
- Document conversion: Discounts are automatically carried over when you convert one document type into another (e.g., from a Quote ➔ Invoice).
How to delete an existing discount
- Go to Settings > All Settings > Master data > Discounts.
- Locate the discount you want to remove. You can delete it in one of two ways:
- Option A: Click directly on the discount, then click Delete discount.
- Option B: Click on the three horizontal dots and select Delete.
Once you delete a discount, it will automatically be removed from all associated contacts.
Rest assured, this will not affect your existing billing; any open or paid invoices will remain unchanged, and the discount will still be visible on them. However, once deleted, the discount will no longer be applied to any newly created documents.